High-quality video production is one of the most important factors in the success of an online course. Engaging, well-produced videos improve student retention, course credibility, and perceived value. However, many course creators and co-producers worry about expensive equipment and complex production setups.
The good news is that professional-looking videos can be created with budget-friendly equipment and smart filming techniques. This guide covers the essential equipment, recording setup, and best practices for producing high-quality online course videos.
1. Why Video Quality Matters in Online Courses
A well-produced course video enhances the learning experience and makes content more engaging. Benefits of high-quality video production include:
- Better Student Retention – Clear audio and visuals keep learners engaged.
- Higher Course Completion Rates – Professional videos encourage students to finish the course.
- Increased Perceived Value – A polished presentation justifies higher pricing.
- Stronger Brand Authority – High-quality videos position the instructor as an expert.
Good production does not mean high costs—it’s about choosing the right equipment and applying effective filming techniques.
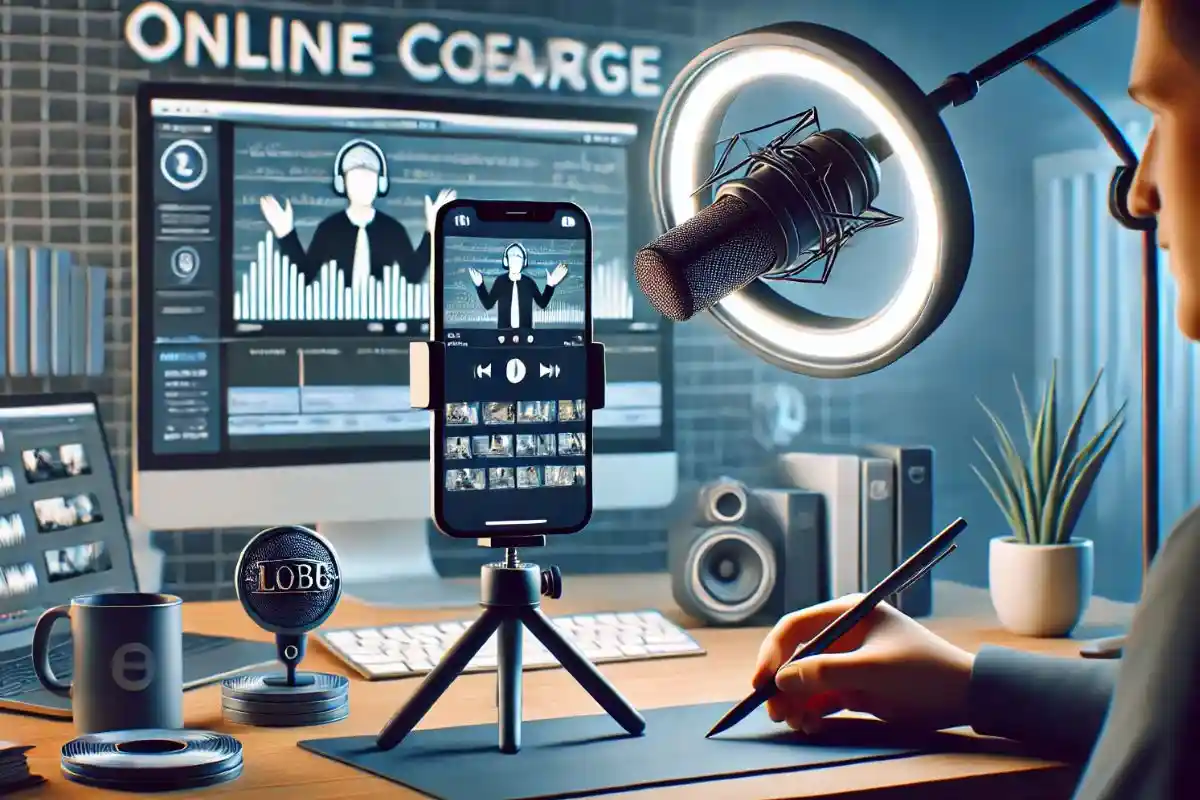
2. Essential Equipment for Recording Course Videos
2.1. Camera Options: Choosing the Right Device
A good camera is essential, but you don’t need an expensive DSLR. Several budget-friendly options work well for online courses:
- Smartphones (iPhone, Samsung, Google Pixel) – High-end smartphones record in 4K and 1080p, making them a great choice.
- Webcams (Logitech Brio, Razer Kiyo Pro) – Ideal for talking-head videos and screen recordings.
- DSLR or Mirrorless Cameras (Sony ZV-E10, Canon EOS M50) – Best for high-end production with a cinematic look.
Tip: If using a smartphone, invest in a tripod and external microphone for better stability and sound quality.
2.2. Microphone Options: Ensuring Clear Audio
Audio quality is more important than video quality—students will tolerate a slightly lower-resolution video but will stop watching if the sound is poor.
Recommended microphones:
- Lavalier Microphones (Rode SmartLav+, BOYA BY-M1) – Small, clip-on mics for hands-free recording.
- USB Condenser Microphones (Blue Yeti, Audio-Technica ATR2100x) – Ideal for voiceovers and screen recordings.
- Shotgun Microphones (Rode VideoMic Pro, Deity V-Mic D3 Pro) – Best for recording in controlled environments.
Tip: Record in a quiet room with minimal echo to improve audio clarity.
2.3. Lighting Setup: Improving Video Quality
Good lighting eliminates shadows and enhances video clarity. Affordable options include:
- Natural Light – Position yourself facing a window for soft, even lighting.
- Ring Lights (Neewer, UBeesize) – Great for talking-head videos.
- Softbox or LED Panel Lights (Godox, Elgato Key Light) – Ideal for professional studio lighting.
Tip: Avoid harsh overhead lighting, which can create unflattering shadows.
2.4. Tripods and Stabilization
A shaky video looks unprofessional. Use:
- Tabletop Tripods (Ulanzi, Joby GorillaPod) – Perfect for smartphones or webcams.
- Full-Size Tripods (Amazon Basics, Manfrotto Compact) – Best for DSLR cameras.
Tip: If using a smartphone, invest in a phone tripod adapter for stable recordings.
2.5. Screen Recording & Editing Software
For courses involving presentations or software tutorials, use screen recording tools:
- Camtasia – All-in-one screen recording and video editing software.
- OBS Studio – Free, professional-grade screen recording software.
- Loom – Simple, cloud-based screen recording.
For editing, budget-friendly options include:
- DaVinci Resolve (Free & professional-grade editing).
- iMovie (Mac users).
- CapCut or Filmora (Easy-to-use video editing).
3. Setting Up a Professional Filming Environment
A well-prepared recording space improves video quality and reduces distractions.
3.1. Choosing the Right Background
Avoid cluttered backgrounds to keep students focused. Options include:
- A clean, simple wall or bookshelf.
- A branded backdrop with course-related visuals.
- A virtual background (for webcam recordings).
3.2. Reducing Background Noise
Poor audio ruins student engagement. To improve sound quality:
- Record in a quiet space away from traffic and household noise.
- Use soundproofing foam or soft furnishings to reduce echo.
- Use background noise removal tools (Audacity, Adobe Premiere Pro).
3.3. Camera Framing and Positioning
- Keep the camera at eye level for a professional look.
- Use the rule of thirds for natural framing.
- Maintain proper headroom (don’t cut off the top of your head).
4. Recording High-Quality Course Videos
4.1. Writing a Script or Outline
Plan what to say in each lesson to stay focused and avoid rambling.
- Use bullet points instead of memorizing full scripts.
- Speak naturally as if talking to a student one-on-one.
- Practice before recording to improve confidence.
4.2. Using a Teleprompter (Optional)
If reading a script, use:
- Teleprompter Apps (PromptSmart, Teleprompter for Video) – Scrolls text while recording.
- Physical Teleprompters (Parrot Teleprompter, Glide Gear TMP100) – Best for DSLR setups.
4.3. Recording in Small Segments
Instead of recording long videos in one take:
- Record 5–10 minute segments for better pacing.
- Edit out mistakes instead of restarting entire sections.
- Use jump cuts or transitions for a smooth flow.
5. Editing and Enhancing Course Videos
Editing polishes raw footage and makes lessons more engaging.
5.1. Basic Editing Steps
- Cut out mistakes and long pauses.
- Add text overlays or bullet points to reinforce key points.
- Use background music at low volume (optional).
- Insert transitions between lessons for a smooth experience.
5.2. Adding Captions for Accessibility
Not all students will watch with sound. Add captions using:
- Otter.ai or Rev.com for auto-generated subtitles.
- YouTube’s built-in captioning tool (if hosting on YouTube).
6. Uploading and Delivering the Course
Once videos are finalized, upload them to a course platform:
- Thinkific, Teachable, Kajabi – Great for self-hosted courses.
- Udemy, Skillshare – Best for marketplace-style course hosting.
- YouTube (Private/Unlisted Videos) – Good for free lead-generation courses.
Ensure videos are:
- Compressed for fast loading (HandBrake is a free compression tool).
- Properly titled and structured in logical modules.
- Available in multiple formats (downloadable PDFs, audio-only versions).
7. Common Mistakes to Avoid
- Recording without proper lighting – Makes videos look unprofessional.
- Using built-in laptop microphones – Results in poor audio quality.
- Not preparing an outline – Leads to rambling and unstructured lessons.
- Skipping test recordings – Always test camera, audio, and lighting first.
- Overcomplicating the setup – Focus on clarity, not unnecessary effects.
Final Thoughts
High-quality course videos can be produced without expensive equipment by focusing on good audio, proper lighting, and structured lessons. By following cost-effective recording techniques, using budget-friendly tools, and maintaining a professional filming setup, course creators and co-producers can deliver engaging, high-value content that enhances student learning and boosts course success.